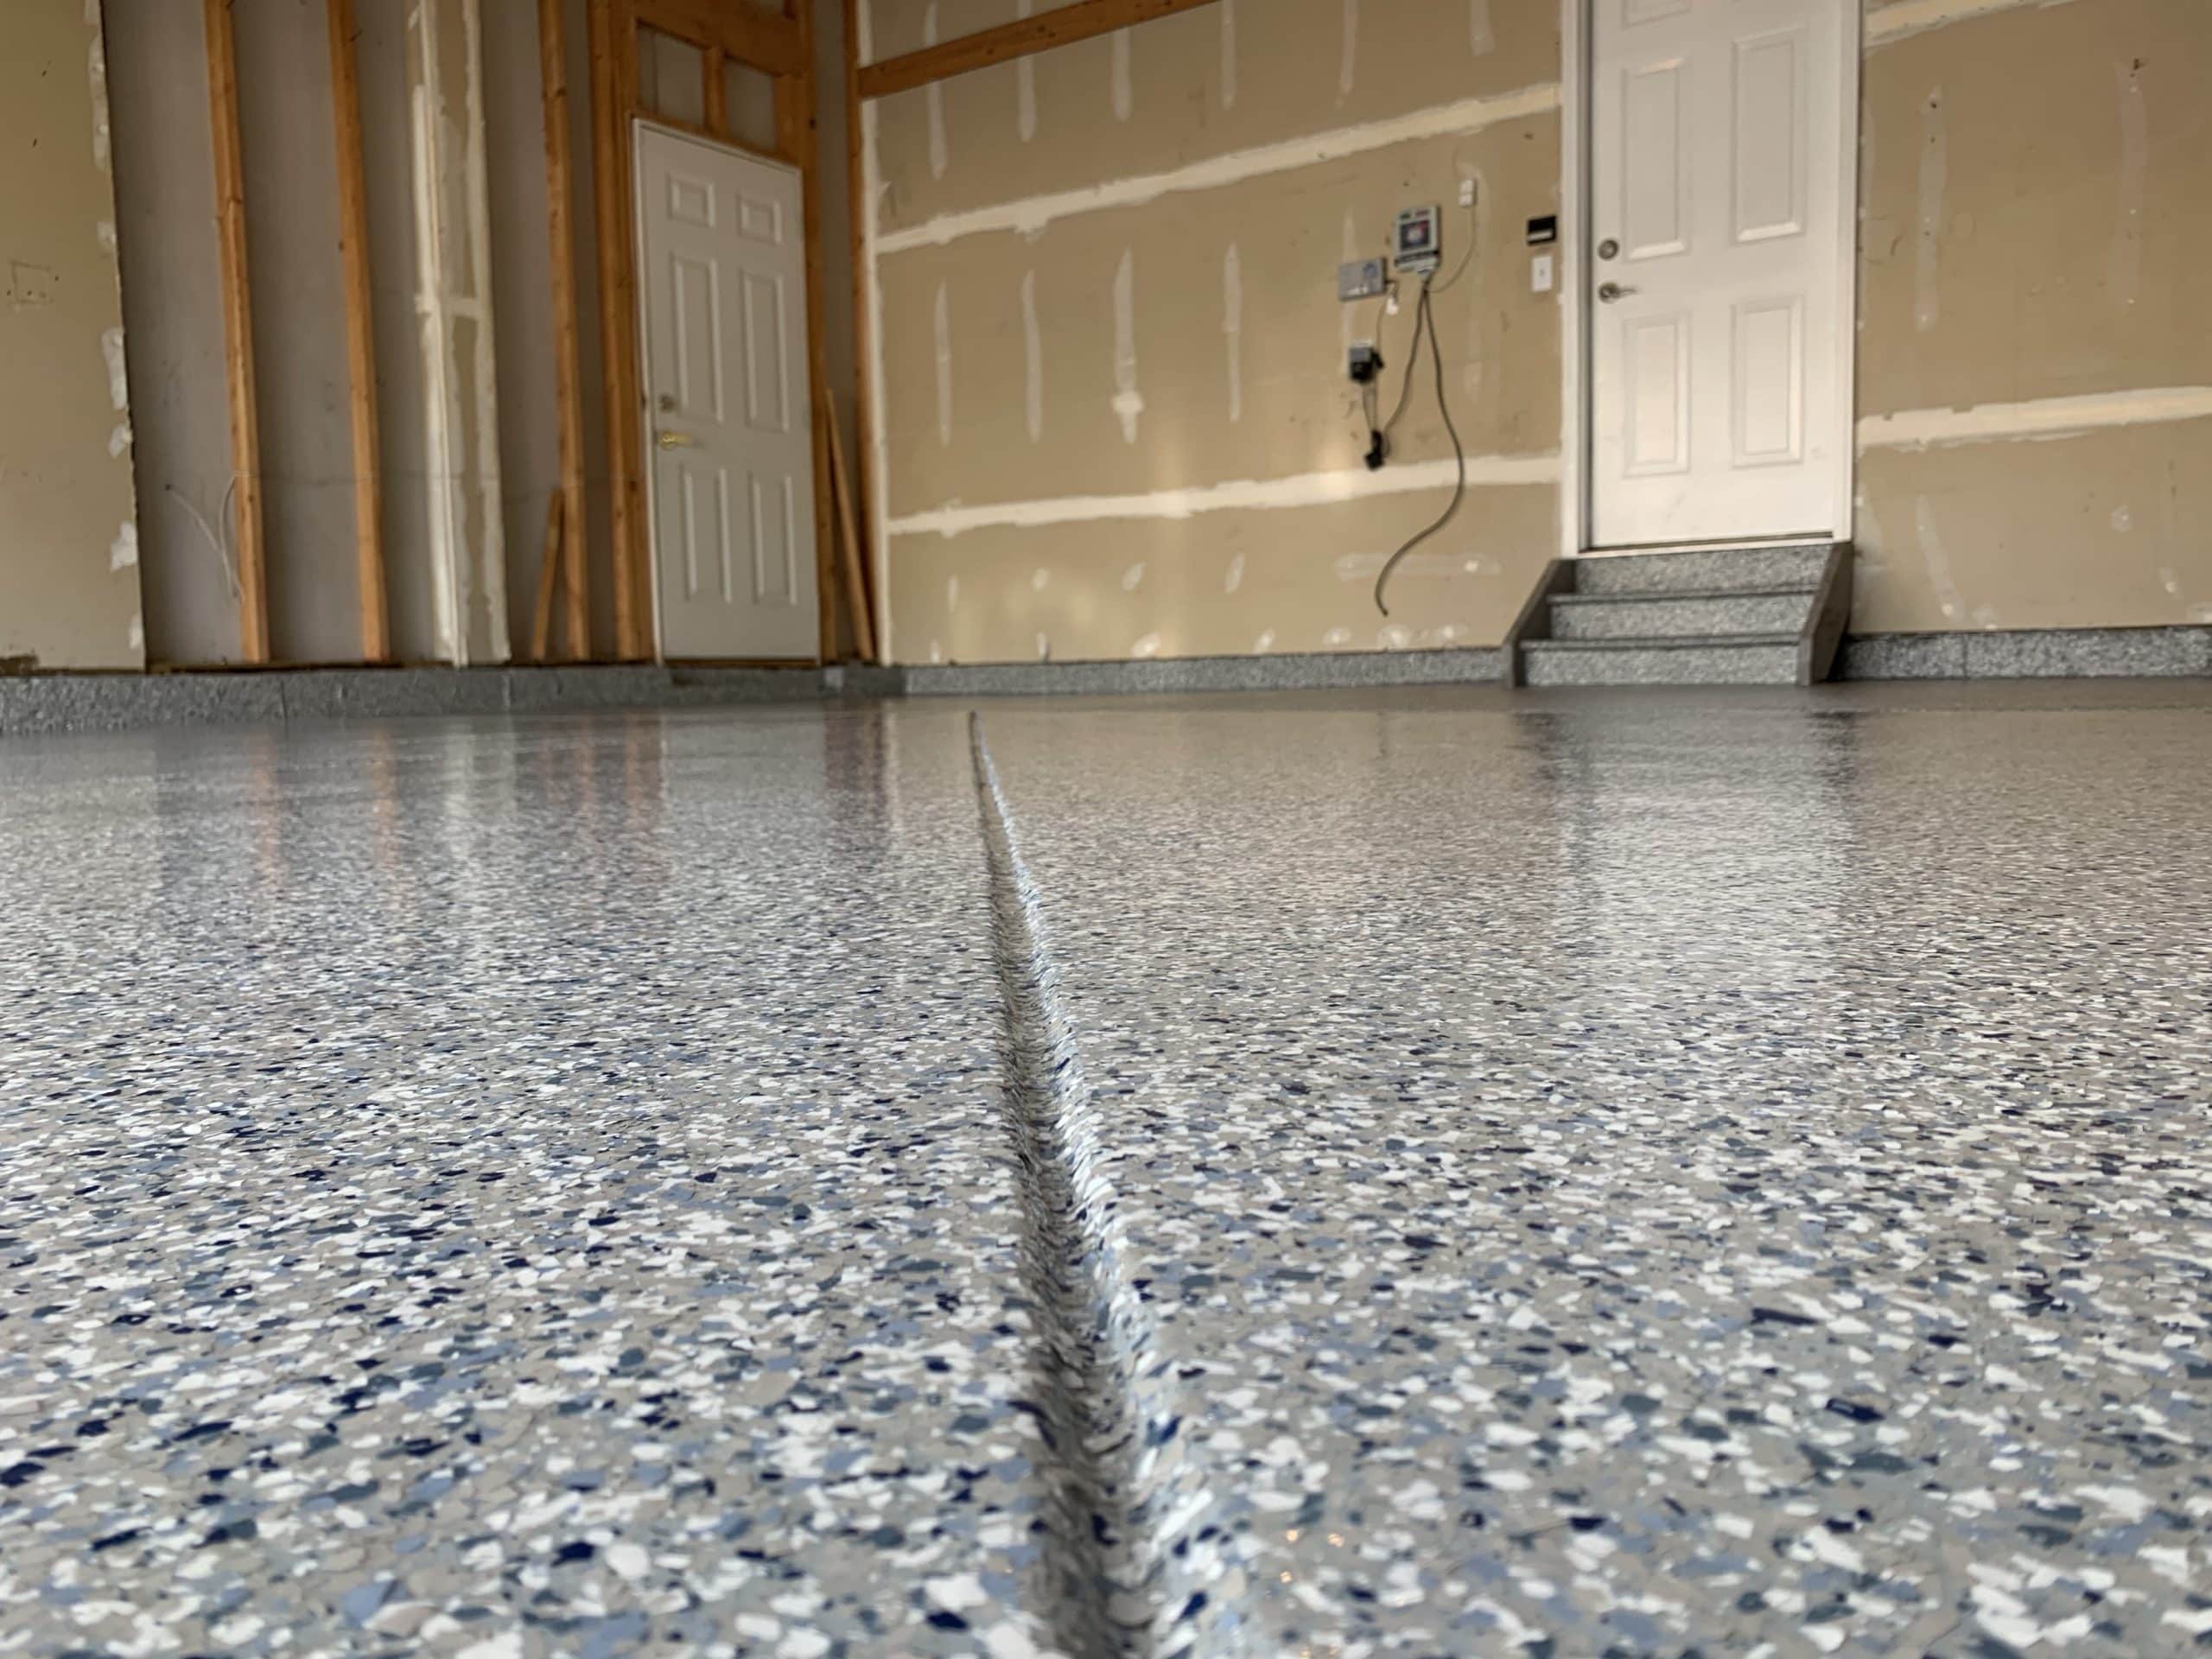
Your garage floor is subject to a lot of use and abuse. An oil spill here, a paint splatter there; it’s evident when your space has been well-loved. And the more time you spend there, the more damage your concrete flooring might incur. The abrasions, dust, and cracks that collect over time can be quite the eyesore and may even be dangerous if not properly taken care of.
Luckily, epoxy offers a beautiful way to restore your worn-out garage floor. There are plenty of reasons to choose an epoxy garage floor. But what are the next steps once you make the decision to install an epoxy floor in your garage?
The first step is to clear everything from your garage that’s sitting on the floor. If you don’t intend to keep any existing shelving units on the ground, be sure to remove those too. You want the garage floor to be as free and clear of obstacles as possible.
This is an optional step. It’s natural if you’re planning on sprucing up your garage, you might want to tend to your walls as well. If you plan on painting the garage, be sure to do this before your epoxy installation.
Next, thoroughly sweep the entire area where the epoxy will be applied. Take extra care to remove all the dust and debris. Get into the corners and seams with a small brush. You want the area to be as clean as possible. Use a shop vacuum or wet-dry vacuum if you have one handy.
As noted before, our garages are often covered in car oil and other greases. It’s important to clean up as much of these liquids and stains as you can manage. Use a degreaser and a stiff brush to scrub the area. Hose off the concrete and let it dry for at least three hours.
If your floor is painted, use a floor maintainer with a light-grade sanding pad to remove the glossy top coat. Scrub the area with a bristle broom and an all-purpose cleaner. Rinse the area and let it dry for at least three hours before moving on to the next step.
Once your space is clean, it’s time to tape. Use painter's tape and plastic wrap to protect the walls from concrete dust (more on this in the advanced steps). If you plan on extending the epoxy up the wall, tape it up to where it will end. Luckily, epoxy professionals like Epoxy Colorado utilize specialized vacuums to keep your walls free from debris and dust.
For those that feel confident in their experience with chemicals, tools, and concrete, these tips might be useful for you (but aren’t recommended for those who don’t have previous experience).
If you want to take your prep work a step further, you can etch or grind the concrete.
Acid etching is a way to remove the topmost layer of your concrete flooring to create a more porous surface. This makes for a smoother application process once it’s time to apply the epoxy.
In order to take this step, you must have a completely level, flat surface. You don’t want these chemicals leaking anywhere outside of the intended area. Be sure to wear safety goggles, rubber boots, and rubber gloves to protect yourself from the chemicals. Apply the acid and scrub with a bristle brush one small section at a time.
Once you’ve finished, rinse the area well. Be sure you rinse away all of the chemicals; you don’t want any acid remnants left behind. Let the area dry for at least three hours.
Grinding is another way to prep your floor for a smooth epoxy installation. If you’d like to go this route, you’ll need either an industrial grinder or a hand grinder. Both options require a diamond grinding block or disc. When done properly, this is a great way to achieve a proper surface profile for an ideal epoxy application.
As aforementioned, at Epoxy Colorado, we use a vacuum system during our grinding process to keep the space clean and prevent concrete dust from becoming airborne. This means anything you have on the walls or ceiling does not need to be removed!
If the ground isn’t level, you will need to mud jack the area. Mudjacking, or slab jacking, is the process of drilling holes into a concrete slab and filling the space underneath with a cement slurry to level the area.
After you complete this step, you must allow the slurry to cure for at least 28 days. This is a crucial step before an epoxy installation as the area must be level for epoxy coating applications.
If there are any cracks or dents in the concrete, these should be filled up and leveled too.
Take the stress of epoxy installation off of your shoulders and let the professionals lend a hand. Hiring a professional is the best way to assure your garage floor is prepped safely and efficiently.
When you hire Epoxy Colorado, we handle the heavy lifting when it comes to prep work.
We’re ready to help you every step of the way - including prep work! Give us a call for a free estimate!
