Epoxy flooring is a wonderful option for residential and commercial buildings alike. Professional epoxy applications are well worth the price but they can be out of some home and business owners’ means. In this case, they may choose to try their hand at a DIY epoxy flooring project. But this is not a straightforward, easy task to take on. If you’re thinking about pursuing a DIY epoxy flooring project, be sure to keep these do’s and don’ts in mind.
Professional and DIY epoxy offers a similar look but there are quite a few differences you should be aware of. First and foremost, there is an obvious price difference. Typically a DIY application in a two-car garage will be around $100-$500 while a professional installation will run you anywhere from $3,000-$6,000.
The preparation and application itself are quite different as well. The typical DIYer won’t be capable of achieving quite the same level of professionalism due to a lack of technical skills and advanced tools. The epoxy itself is formulated differently too. DIY kits typically come with epoxy that contains up to 50% water. Professional epoxy is a 2:1 mix of epoxy and hardener.
All of these factors will lead to a stark contrast between how long DIY epoxy will last in comparison to a professional install. While DIY flooring can last several years, it will inevitably begin to crack, peel, or yellow over time. A professional epoxy floor can last 10-20 years.
Looking for a professional to help install your floor? Get in touch with Epoxy Colorado!
This isn’t a project you can casually decide to do on a random weekend – it takes strategic planning and preparation. Prep work alone can take a full day. It might be longer if you need to make repairs to the subfloor. The application itself tends to take roughly two days. It can be quite challenging as well. You will need to factor in the temperature, humidity, epoxy cure time, and more. If you don’t prepare dutifully and follow directions precisely, you can easily botch the project.
Be sure you have everything you need to complete your DIY epoxy flooring project. The kit should provide a lot of what you need but you should also have additional tools on hand.
What you’ll need:
Prep work is a crucial step in the DIY epoxy flooring installation process. First, you’ll need to clean the surface thoroughly. Use a scraper to peel off any stuck-on debris and vacuum the area. It’s also important to use a degreaser to remove any oil or grease. It’s a good idea to use a power scrubber if you can get your hands on one.
Professional contractors will use a diamond grinder or a shot blaster to clean and prepare the subfloor. These tools are not cheap or easy to come by for the average homeowner or small business owner. Instead, most DIYers will acid etch the concrete. You’ll need to use a power scrubber or long-handled brush to acid etch the area. Once you’re done, be sure to rinse it at least three times and let it dry overnight. The next day, apply a self-leveling primer for an optimal surface to which the epoxy can bond.
Moisture can cause a host of problems during installation. It’s important to do a moisture test well ahead of time to ensure that your subfloor will bond with the epoxy properly. If there’s too much moisture present during installation it can lead to premature cracking. Calcium chloride–based testing kits are the best way to accurately test your concrete. It’s best to conduct this test in the spring.
Place three test kits throughout the room – two around five feet away from the walls and one in the middle of the floor. Be sure to follow your kit instructions closely. Once you collect the moisture level data with your kit, you’ll need to send it off for lab analysis. If your results read beyond 3 pounds of water vapor penetration per 1,000 square feet, it may be too moist for proper installation. It’s best to consult a professional at this point.
You can’t install epoxy on top of new concrete. It needs to cure first. A general rule of thumb is to wait at least 30 days to apply epoxy to the concrete. Depending on the concrete formulation, you may need to wait even longer. Just check with your contractor or look at the packaging to determine when the concrete will be fully cured. If you fail to do so, you can damage the subfloor and cause premature cracking in the epoxy.
There are a few different options to choose from when selecting a DIY epoxy kit. As we said, most DIY kits will come with water-based epoxy. You can find them at just about any hardware store. One perk of using this type of epoxy is that there are no hazardous solvent fumes to worry about. But it won’t be as durable as professional solid or solvent-based epoxies.
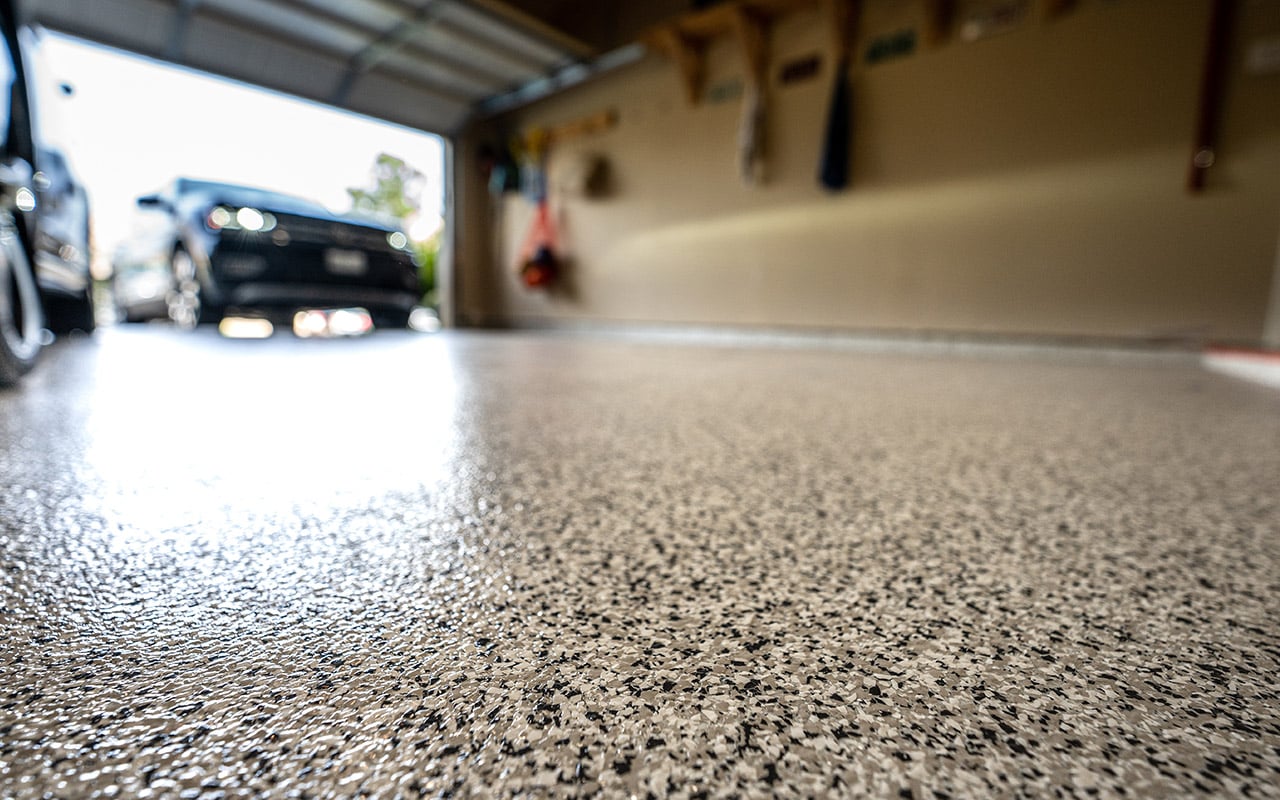
DIY kits are a bit more limited than professional options but there are still a variety of colors and styles to choose from. You can choose from pre-tinted, metallic, and speckled epoxy. Many DIYers will opt to use color flakes to create a speckled look not only for the fun pop of color but also to distract the eyes from imperfections such as bubbles, pinholes, and paint strokes.
After prep work and applying several layers of epoxy, you’re likely ready to wrap this DIY project up. But you really don’t want to skip this final step. A topcoat is a clear layer of epoxy meant to protect the flooring underneath. You can choose between a glossy or matte top coat. Not only will it offer a beautiful finish to your epoxy floor, but it will also increase its longevity.
Now that you have a beautiful DIY epoxy floor, you need to do what you can to take good care of it. You can help extend its lifespan if you take time to tend to it regularly. Be sure to regularly sweep or vacuum the flooring. You’ll also need to mop regularly as well. Be sure to avoid harsh chemicals and opt for a mild cleaning solution. You can use ammonia diluted in water. It’s also a good idea to place mats in high-traffic areas and entryways to protect your flooring from dirt and debris.
;)
;)
;)